TinyMCE is a javascript text editor which comes with many handy features such as text styling, highlighting, indentation, text coloring, adding tables, images, links or even emoticons. In this article, I will explain how to use image upload of this powerful editor. My environment has ASP .NET MVC 5 in back end side. However you may prefer any other framework you like.
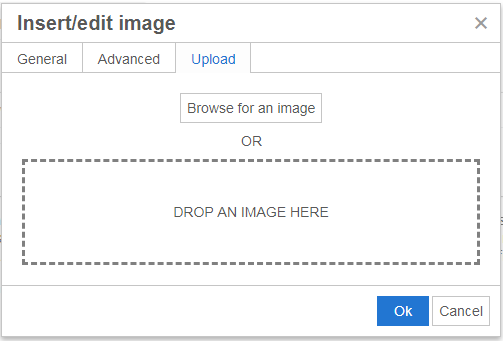
TinyMCE gives image upload dialog:
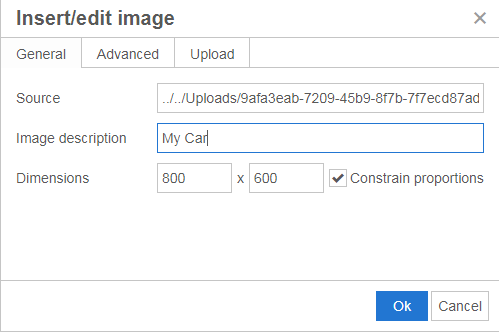
After image upload, you may add metadata as well:
Lets start by front end side. We firstly added tinymce and jquery library links as sources. Then we initialized tinymce instance with images_upload_url parameter which is link directing to image upload link that our controller named Post handles. Tinymce selector pick the class of textarea in html to determine where the text is being edited.
Right after image being uploaded, there will be image link generated and inserted into to text content.
@model Blog.Models.Post
@{
ViewBag.Title = "Edit";
Layout = "~/Views/Shared/_Layout.cshtml";
}
@section HtmlEditor {
<script type="text/javascript" src="../../Scripts/jquery-1.10.2.js"></script>
<script type="text/javascript" src="../../cdn.tinymce.com/4.7/tinymce.min.js"></script>
<script>
tinymce.init({
selector: 'textarea',
images_upload_url: "../Upload",
theme: 'modern',
plugins: [
'advlist autolink lists link image charmap print preview hr anchor pagebreak',
'searchreplace wordcount visualblocks visualchars code fullscreen',
'insertdatetime media nonbreaking save table contextmenu directionality',
'emoticons template paste textcolor colorpicker textpattern imagetools'
],
toolbar1: 'insertfile undo redo | styleselect | bold italic | alignleft aligncenter alignright alignjustify | bullist numlist outdent indent | link image',
toolbar2: 'print preview media | forecolor backcolor emoticons ',
image_advtab: true,
});
function upload(form) {
tinymce.activeEditor.uploadImages(function (success) {
tinymce.activeEditor.execCommand("mceInsertContent", true, "<img src='" + data + "' alt='Uploaded Image' class='img-responsive' />");
});
return false;
}
</script>
}
<h2>Edit Post</h2>
@using (Html.BeginForm("Edit", "Post", FormMethod.Post, new { enctype = "multipart/form-data" }))
{
@Html.AntiForgeryToken()
<div class="form-horizontal">
@Html.ValidationSummary(true, "", new { @class = "text-danger" })
<div class="form-group">
@Html.LabelFor(model => model.PostName, htmlAttributes: new { @class = "control-label col-md-2" })
<div class="col-md-10">
@Html.EditorFor(model => model.PostName, new { htmlAttributes = new { @class = "form-control" } })
@Html.ValidationMessageFor(model => model.PostName, "", new { @class = "text-danger" })
</div>
</div>
<div class="form-group">
@Html.LabelFor(model => model.PostContent, htmlAttributes: new { @class = "control-label col-md-2" })
<div class="col-md-10">
<textarea style="width:1000px; min-height:800px" id="PostContent" name="PostContent">@Model.PostContent</textarea>
@Html.ValidationMessageFor(model => model.PostContent, "", new { @class = "text-danger" })
</div>
</div>
<div class="form-group">
<div class="col-md-offset-2 col-md-10">
<input type="submit" value="Save" class="btn btn-success" />
</div>
</div>
</div>
}
Continuing with the back end part, inside the post controller we added Upload action which checks file upload criterias we defined for file size and attributes. If conditions are met, file will be uploaded to the folder named "Uploads" inside root folder. Function will return a json with an image file name which is a new GUID for each file we upload.
[Authorize]
public ActionResult Upload()
{
var file = Request.Files["file"];
string extension = Path.GetExtension(file.FileName);
string fileid = Guid.NewGuid().ToString();
fileid = Path.ChangeExtension(fileid, extension);
var draft = new { location = "" };
if(file != null && file.ContentLength > 0)
{
const int megabyte = 1024 * 1024;
if (!file.ContentType.StartsWith("image/"))
{
throw new InvalidOperationException("Invalid MIME content type.");
}
string[] extensions = { ".gif", ".jpg", ".png" };
if (!extensions.Contains(extension))
{
throw new InvalidOperationException("Invalid file extension.");
}
if (file.ContentLength > (8 * megabyte))
{
throw new InvalidOperationException("File size limit exceeded.");
}
string savePath = Server.MapPath(@"~/Uploads/" + fileid);
file.SaveAs(savePath);
draft = new { location = Path.Combine("/Uploads", fileid).Replace('\\', '/') };
}
return Json(draft, JsonRequestBehavior.AllowGet);
}
Lets see an example in action:

Author
İsmail Erdem Sırma
Senior Software Engineer